Integrating Jenkins with Maven

Hello Team,
Working Devops Support Engineer having 8.2 years of experience in Unix, Shell Scripting, SQL. Since one year i started my journey as a DevOps support engineer where i am involved in Deployments, Infrastructure monitoring using AWS- cloud-watch, Automating simple task using shell scripts.
Apache Maven is a widely used build automation and project management tool in the Java ecosystem. Its based on POM(Page Object Model).Without Maven , Every time we have to include jars in our project but with maven we just need to add dependency in our pom.xml file present in our project
Apache Maven is a software project management and comprehension tool. Based on the concept of a project object model (POM), Maven can manage a project's build, reporting and documentation from a central piece of information.
For example, the default build lifecycle comprises of the following phases (for a complete list of the lifecycle phases, refer to the Lifecycle Reference):
validate- validate the project is correct and all necessary information is availablecompile- compile the source code of the projecttest- test the compiled source code using a suitable unit testing framework. These tests should not require the code be packaged or deployedpackage- take the compiled code and package it in its distributable format, such as a JAR.verify- run any checks on results of integration tests to ensure quality criteria are metinstall- install the package into the local repository, for use as a dependency in other projects locallydeploy- done in the build environment, copies the final package to the remote repository for sharing with other developers and projects.
Developers can bind custom tasks and plug-in to these phases, allowing for customization of the build process.
Maven uses a Project Object Model, defined in an XML file called pom.xml, to manage project information, configuration, and dependencies. The POM file contains details such as project coordinates, dependencies, plug-in, and goals. The Developer can declare dependency in the POM file, and Maven take care of retrieving libraries.
To use Maven, you typically need to install it on your system and define a pom.xml file for your project. Maven then manages the build process, making it easier to share and collaborate on Java projects.
Maven integrates well with popular Integrated Development Environments (IDEs) such as Eclipse, IntelliJ IDEA, and NetBeans. IDEs can import Maven projects and automatically synchronize their build configurations.
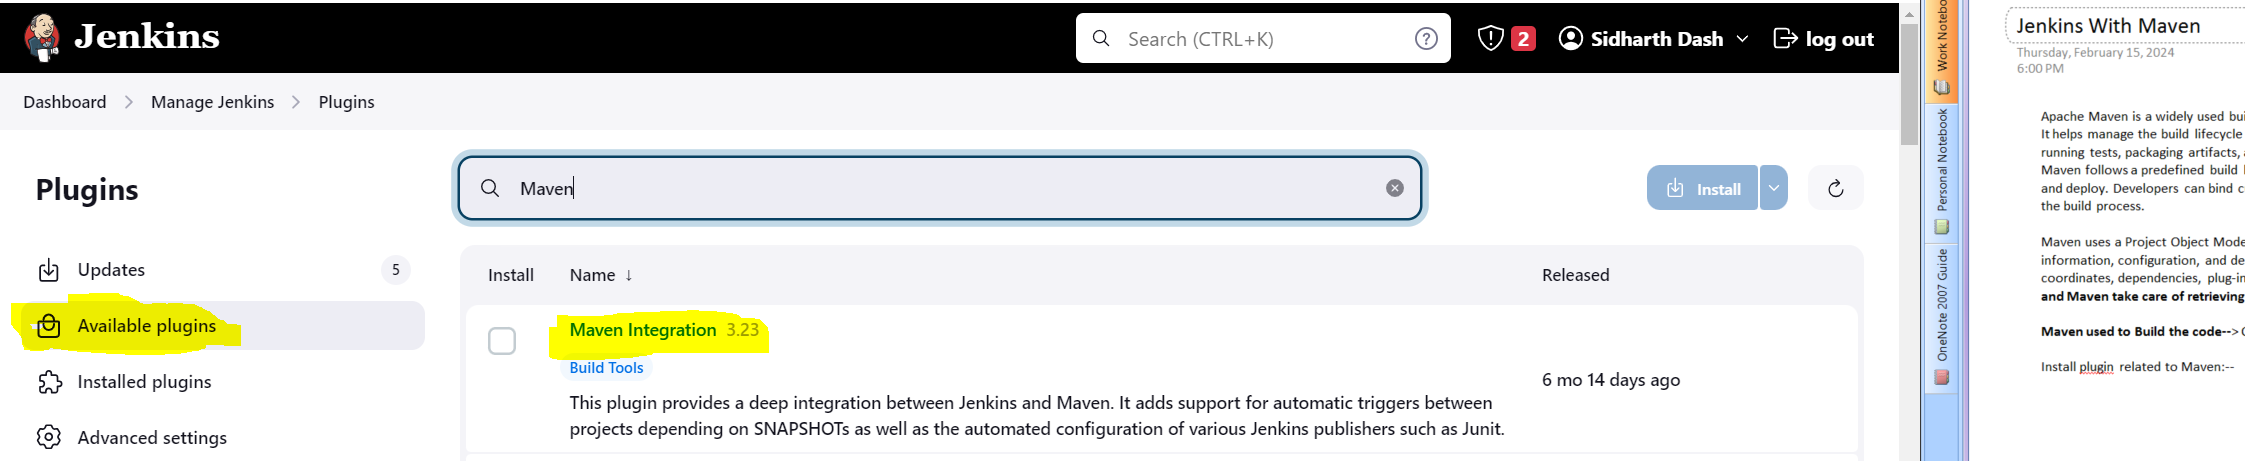
Under Jenkins Dashboard --> Manage Jenkins --> Plugins (i will find plugin named Maven integration).
This plugin provides a deep integration between Jenkins and Maven. It adds support for automatic triggers between projects depending on SNAPSHOTs
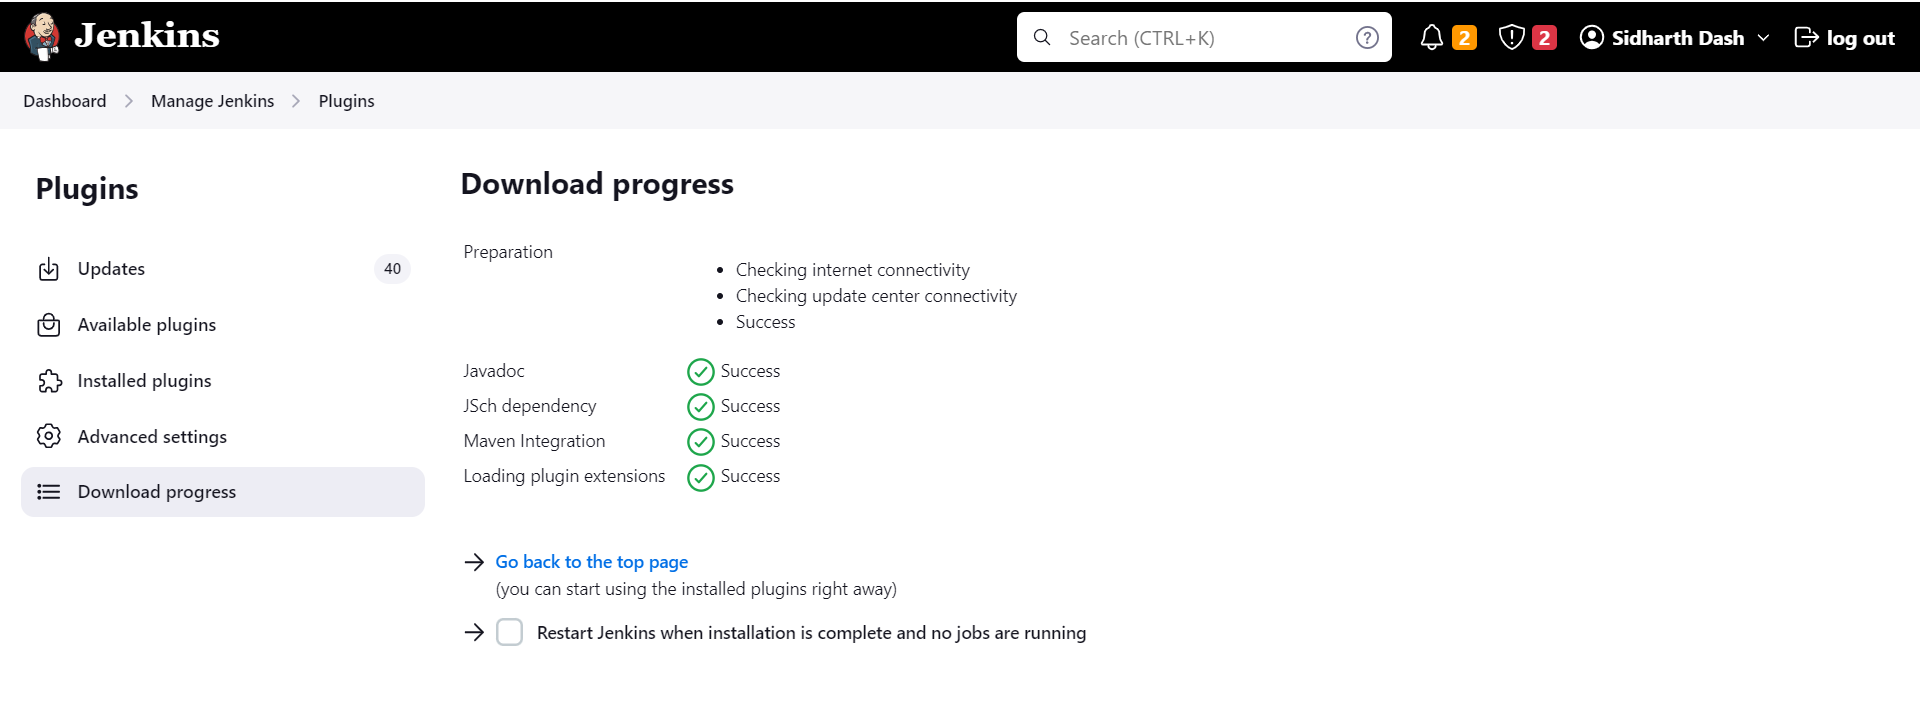
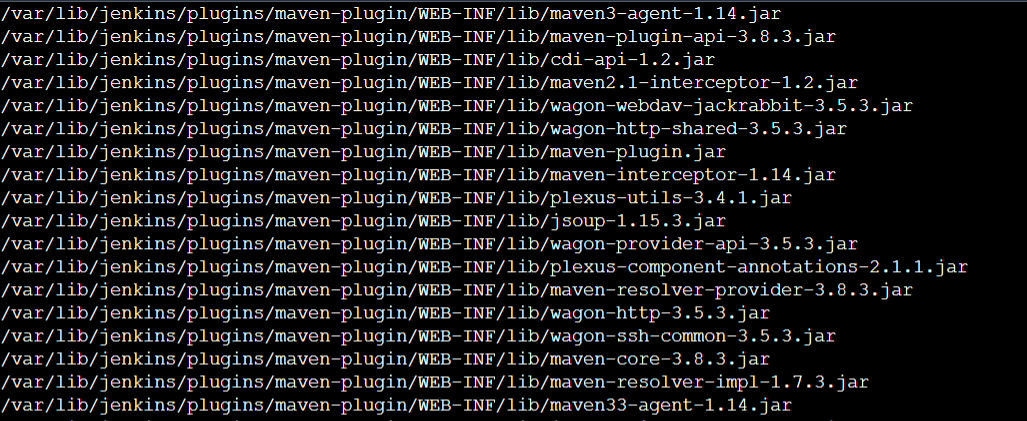
When i install a plugin in the backend(var/lib/jenkins folder) jar file will get downloaded.
If you run the
find /var/lib/jenkins -name *.jar

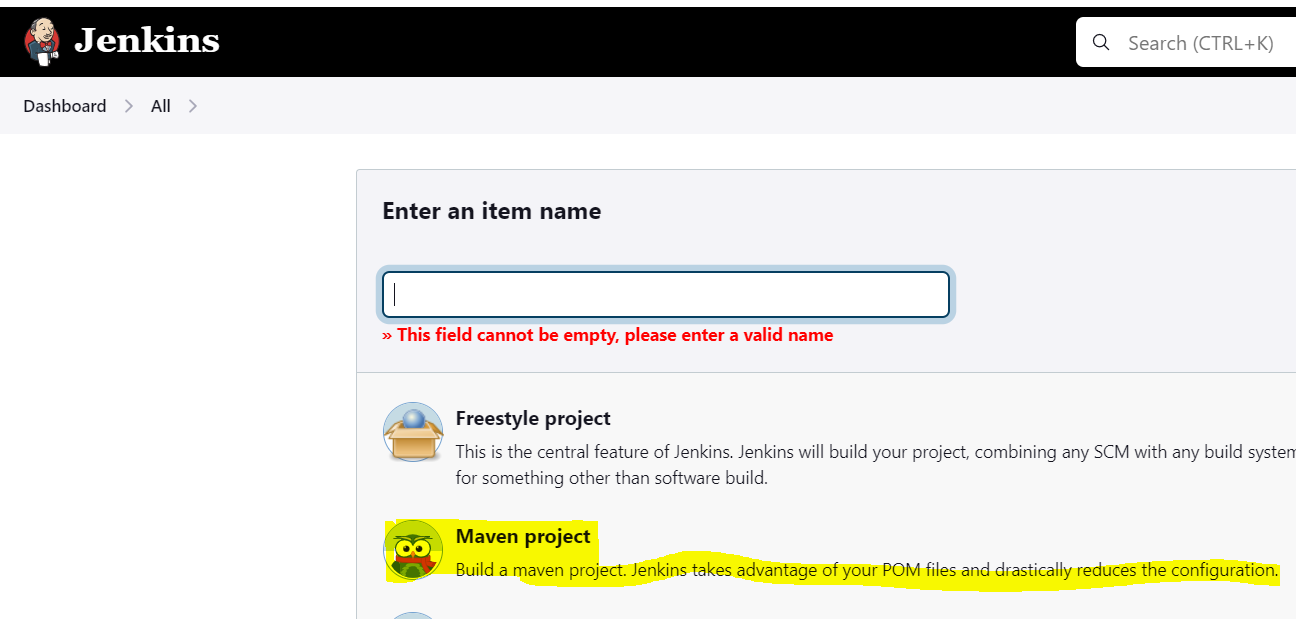
We can see an additional feature Maven project is added
we have the most important file called pom.xml(project object model). All the project dependencies (selenium, junit) for running the code will be written here and it can be downloaded on a fly.
Example we can go to the repository and select the version 4.13.2:-- https://mvnrepository.com/artifact/junit/junit/4.13.2

and then copy the above code and then paste it in the pom.xml file. Then when i will save the pom.xml file the dependency will get downloaded and it will added to my project.
Now in Jenkins under Dashboard --> Maven-job --> Configuration.
Here in Goals and options i will put clean package option.
Clean(mvn clean) - Delete the old bytecode.it deletes the target folder.(Target folder holds the class file).
Package(mvn package) - Downloads dependency from the central repository if not found in the local repository. And Its adds the jar in the target folder but that jar is not present in the local.

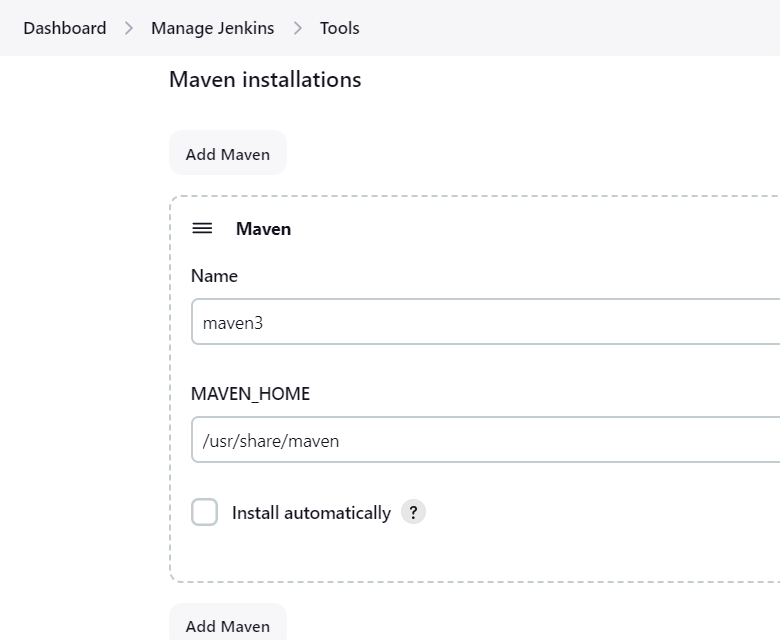
Here Jenkins need to know where the Maven was installed so that it will communicate with the tool to build my code. So i will go to my EC2 instance and install maven.
Suppose if you want to run Maven in an node then i can select the below option under Dashboard --> Maven-job --> Configuration :--

To install maven Java should be installed.
sudo apt install maven -y then
mvn -version ( check the version of maven).

Then in Jenkins i will go to the below path and under MAVEN_HOME i will provide the maven path:-- /usr/share/maven
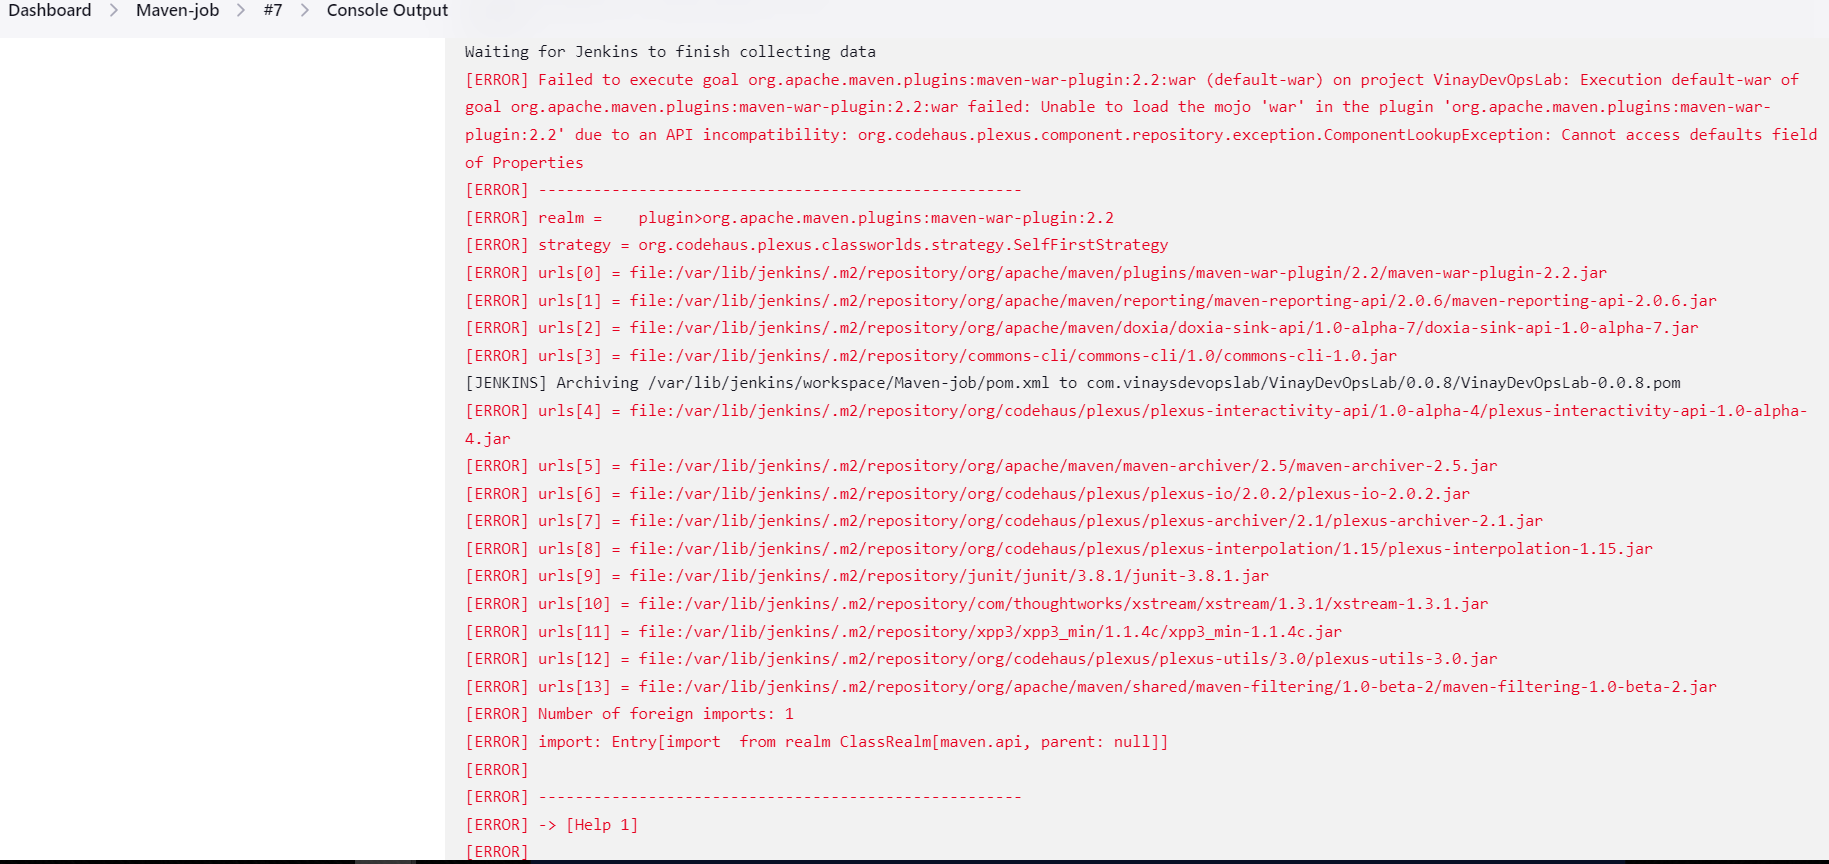
After doing all when i clicked build now the Jenkins job failed with error as mentioned in the below SS
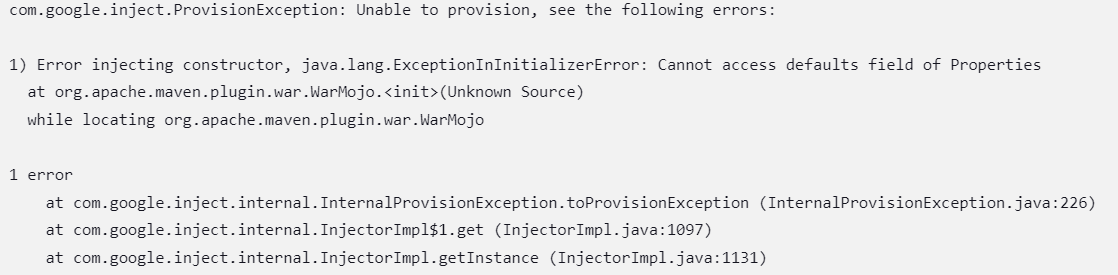

After doing some research in Stack overflow i found the failure was due to version issue. So i from the official maven website i checked the latest version and copied the link address (
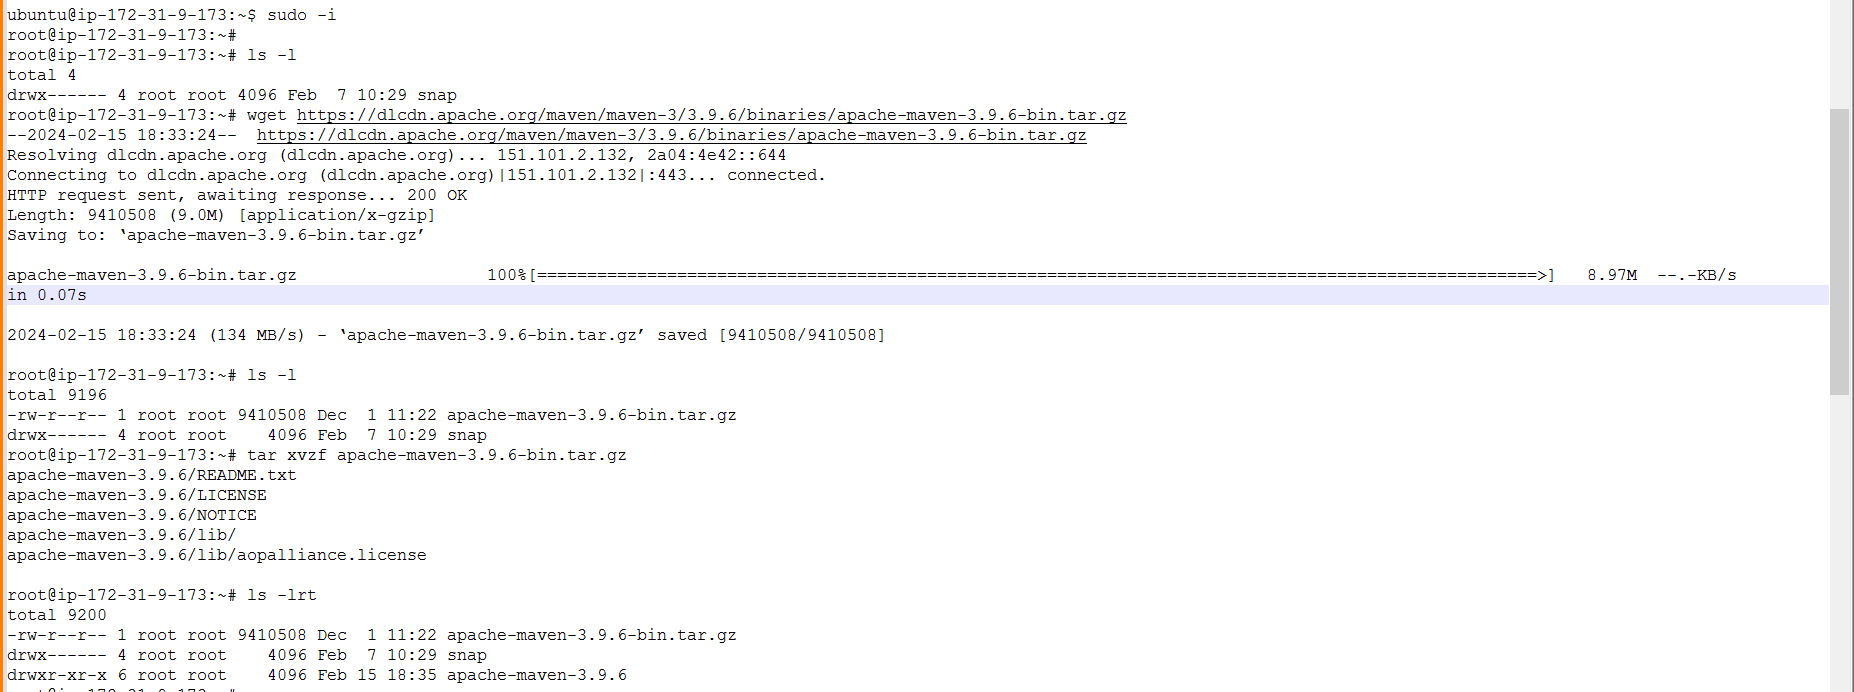
) downloaded it using wget command.

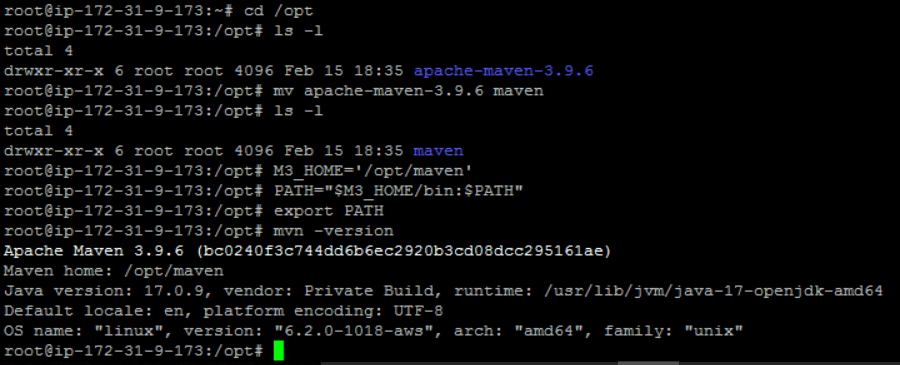
Now i have created variable named M3_HOME and under that variable i will provide the directory location : /opt/maven and i will export it to the PATH environment variable.
Then i will go to the Tools Section and under MAVEN_HOME i will provide the path as :- /usr/share/maven

Now after doing such modification when i clicked on build now again it got failed with the below error message.
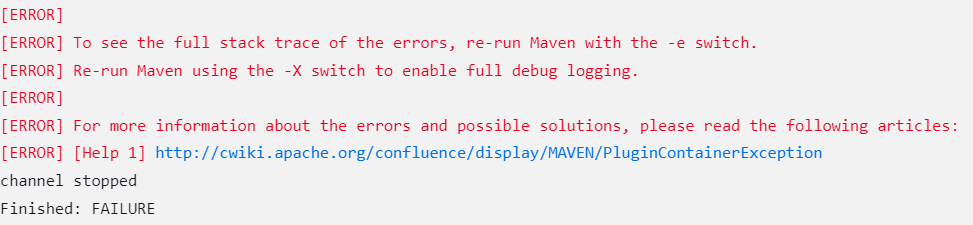
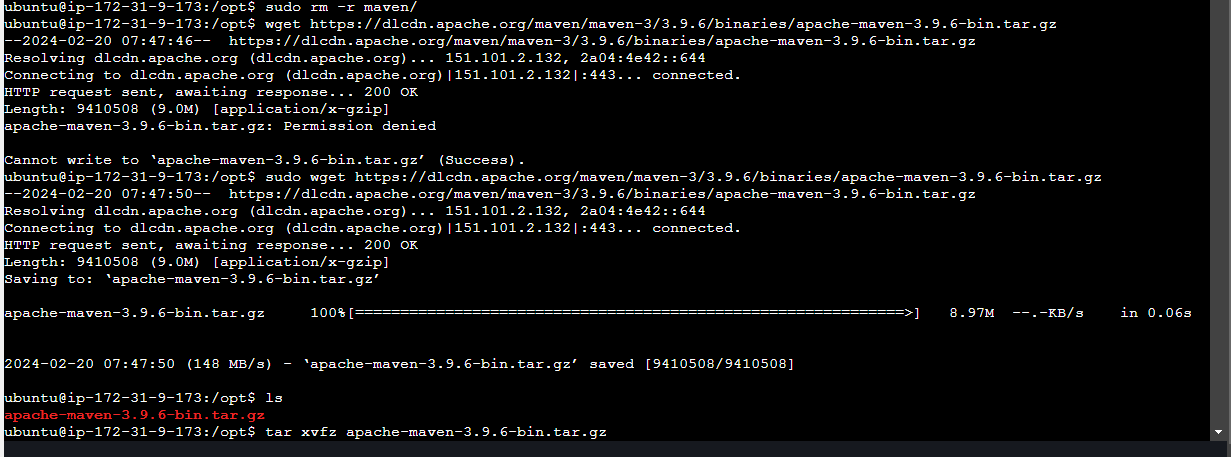
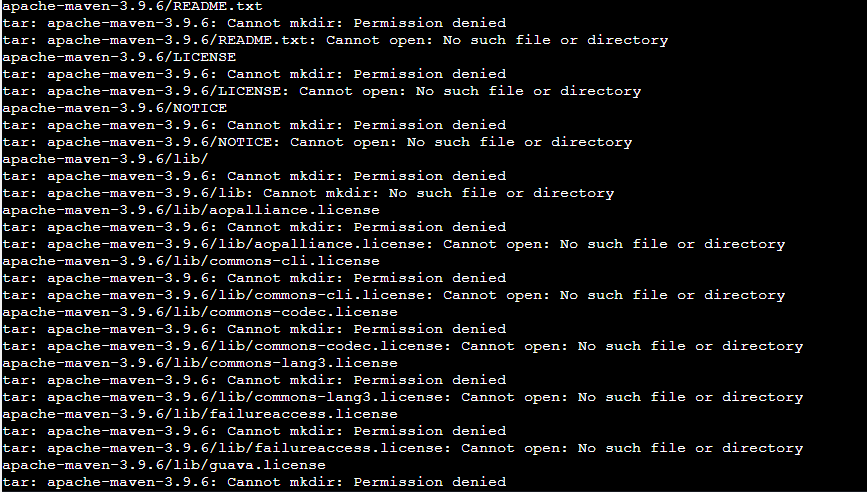
The error says again it failed because of version issue. So fix it i have removed the older version and then again downloaded the new version(3.9.6) and then export it to path variable.

sudo rm -r maven/
wget https://dlcdn.apache.org/maven/maven-3/3.9.6/binaries/apache-maven-3.9.6-bin.tar.gz
ubuntu@ip-172-31-9-173:/opt$ cd apache-maven-3.9.6/
ubuntu@ip-172-31-9-173:/opt/apache-maven-3.9.6$ ls
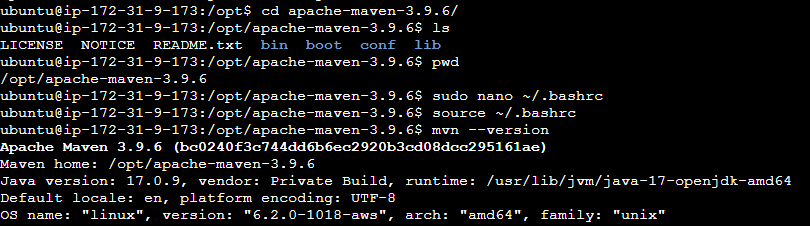
sudo nano ~/.bashrc (It stands for "Bash Run Commands." Users can use the .bashrc file to define environment variables, set aliases, customize the prompt, and execute other commands or scripts when a new Bash shell session is initiated.)

Here i have provided the path and then export the variable. and then
source ~/.bashsrc (It will permanently save the changes.)
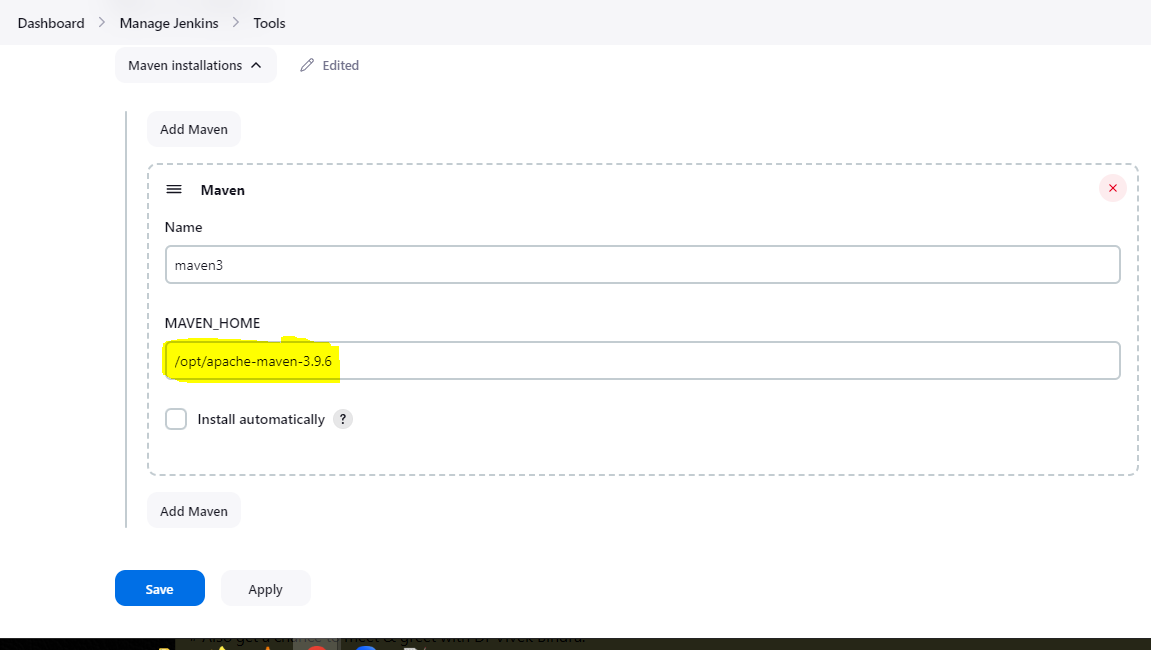
Then in Jenkins Dashboard --> Manage Jenkins ---> Tools ( i have provided the new path which i saved it in the bashrc file)
Now when i clicked on build now it was successful.
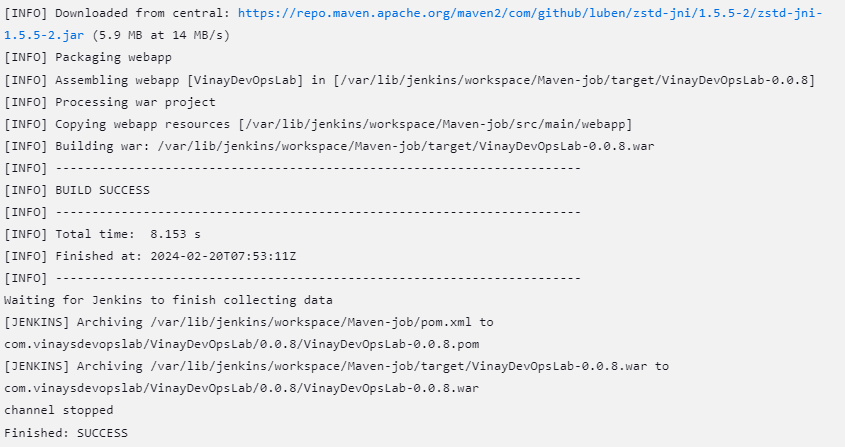
when i checked in the target path i could see the war file.

Output:--
Now in the target file we have the war file(VinayDevopsLab-0.0.8.war).

